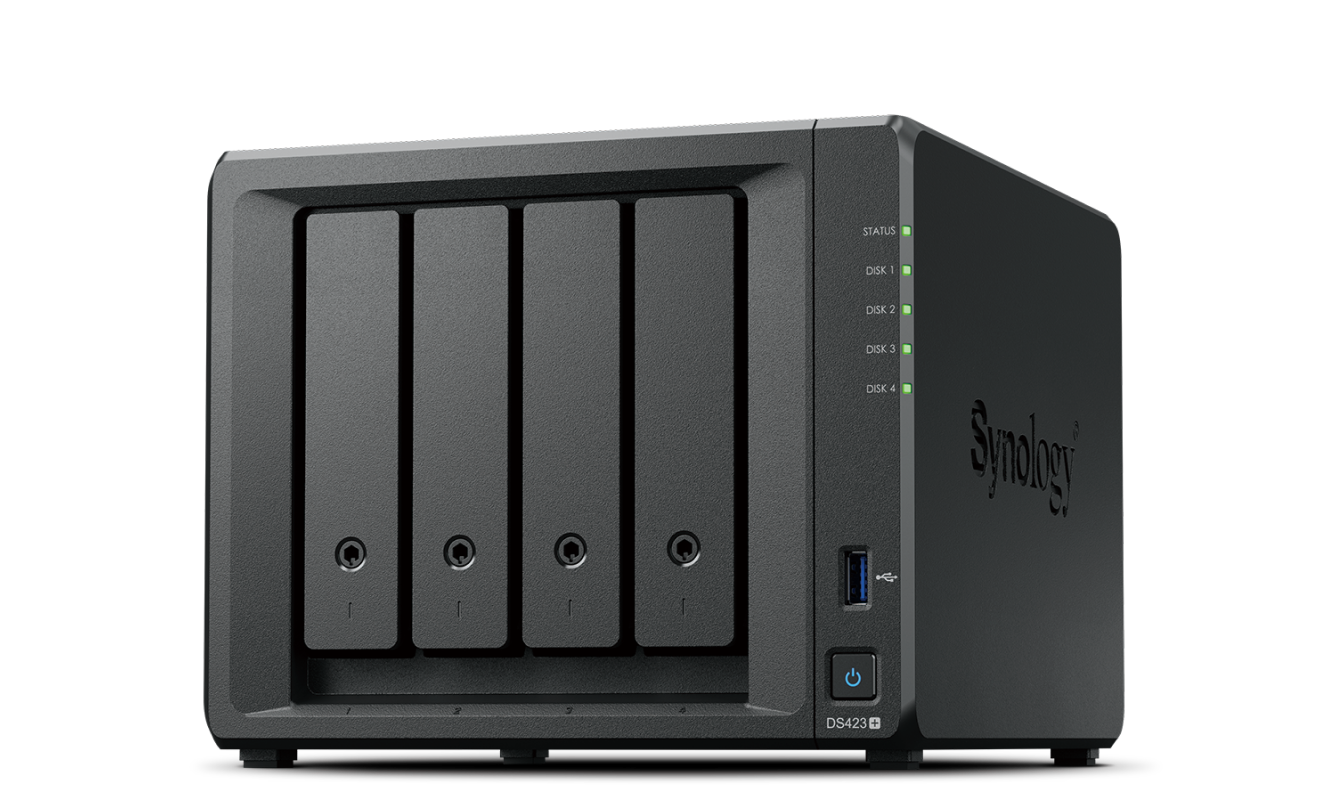
 So you’ve got (or are thinking about getting) a shiny new Synology NAS, and you’d like to use it to self-host several WordPress websites? You’ve come to the right place! I managed to get it all set up on my DS423+ running DSM 7.2 – three Containerized WordPress sites, deployed as Portainer stacks, all with SSL certs, and all behind a double NAT (in fact, you’re looking at it right now! This site is one of several that I’m hosting) – but it took a lot of trial and error to get it right. So I thought it would be nice to share the info, so that the next person won’t have to struggle with it as much as I did! I’m providing all of this info free of charge, but I would ask that if you find this information helpful, you’d consider either donating a few dollars, or posting a link to my shop (https://decotiler.com) on your socials. That would be awesome!
Anyway, this guide is assuming that you already have a domain or two, and that you will be able to configure the DNS settings for your domains with whatever registrar or DNS service provider you’re using. Step 4 of the guide covers this – I will include instructions for noip.com and Google Domains, specifically – if you’re using a different service, you’ll need to modify the instructions I provide, accordingly. In my case, I had three domains, so I set up three WordPress sites using those domain names (unique domains, not subdomains) although the instructions I’ll provide would work with subdomains as well.
To begin with, let’s talk about hardware.
When I first got the DS423+, I loaded it up with three 8TB WD Red Plus HDDs, and ran the sites off of those hard disks. Even with upgraded RAM, a redis cache, and NVMe read-only caching, the sites were still pretty slow.
I then bought a 500GB WD Red SN700 NVMe drive, created a volume on it, and moved the sites to that NVMe. It made a world of difference! The specific configuration I ended up with was a:
- 500GB WD Red SN700 NVMe drive which all of my Containers run off of, and a
- 16GB RAM module from Hynix.
I used this script to add the WD Red NVMe to my Synology’s ‘approved drive’ database (only Synology-branded NVMe’s are able to be used for read/write caches and volume creation by default; this script lets you use ANY M2 NVMe drive for that purpose. Since the durability of consumer-grade NVMe’s isn’t that great, I’d suggest at least getting a server/NAS-grade NVMe drive if you intend to use it as a storage volume). The SN700 I got is working well, and reports zero errors so far. I will update this post as the drive ages, and will definitely report if it fails at some point in the future.
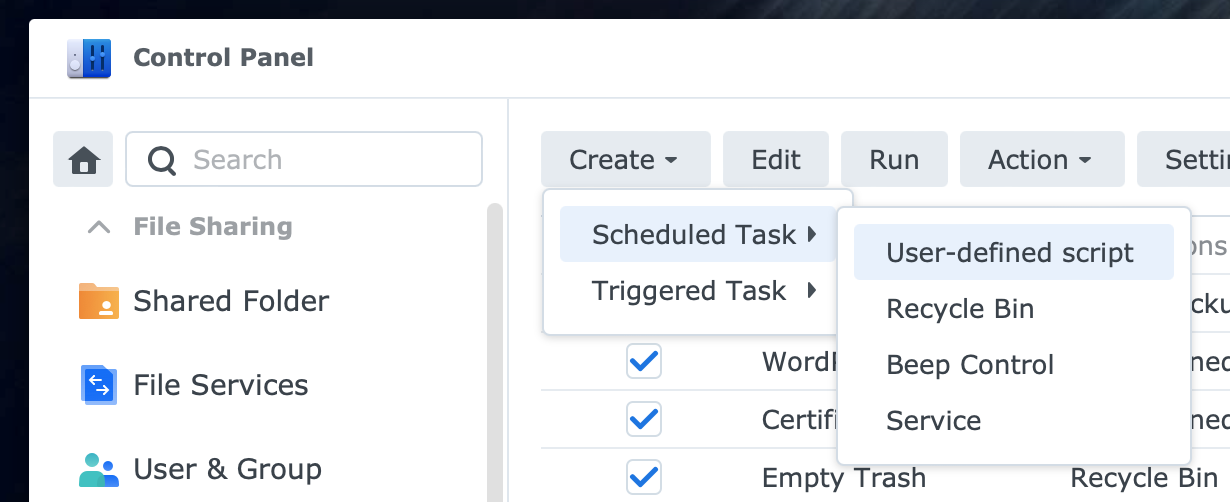
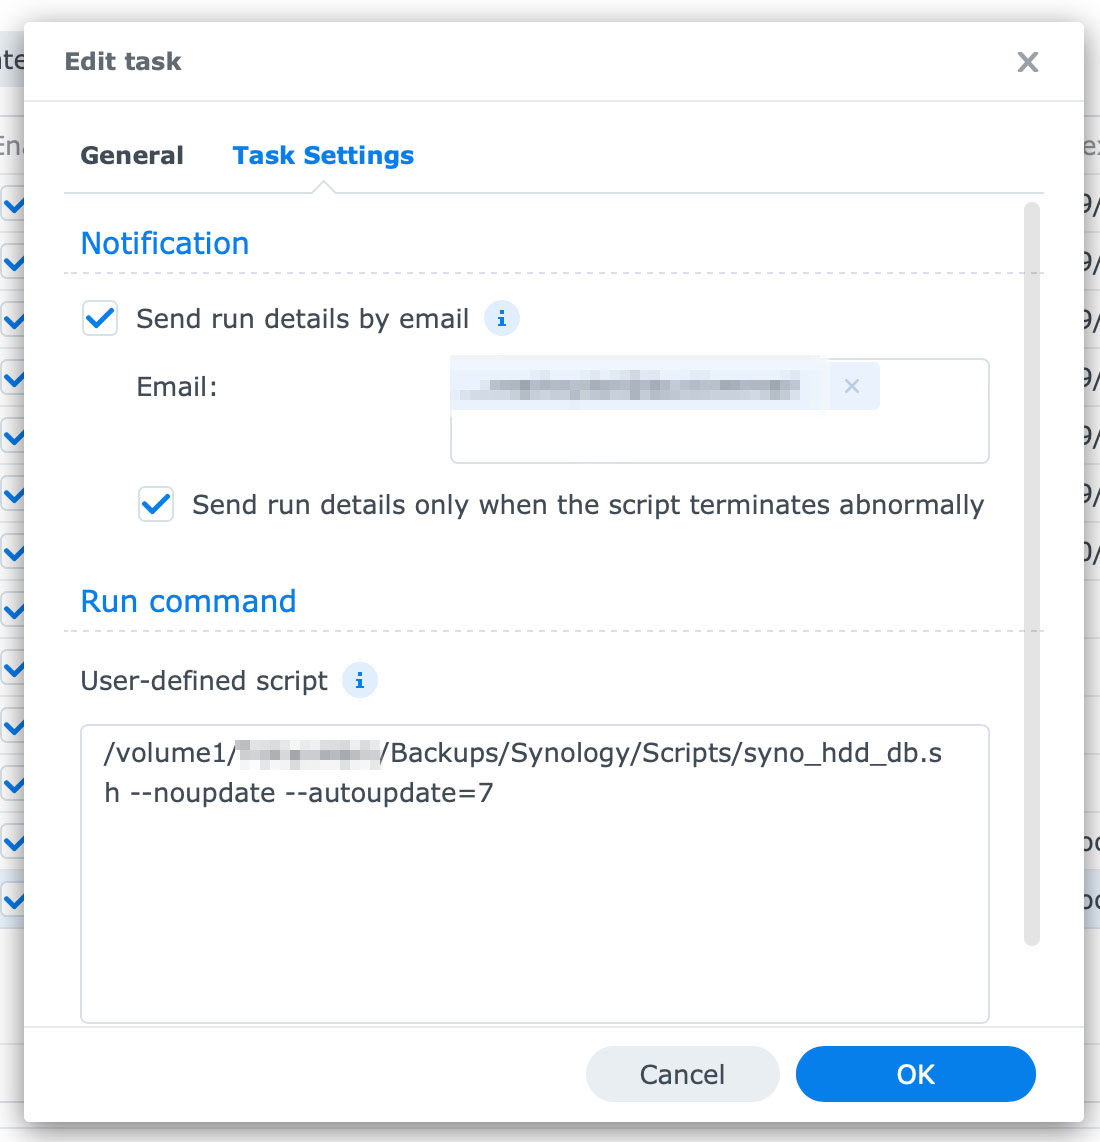
Once you download the script, save it somewhere on your NAS and then create a “Scheduled Task > User-defined Script” task that runs as root, at boot:
I use the following specific arguments to 1) prevent the Synology from updating the compatible drives list on its own and 2) auto-update the script seven days after a new version of the script is made public.
/volume1/SHARED_FOLDER/YOUR_DIRECTORY/syno_hdd_db.sh –noupdate –autoupdate=7
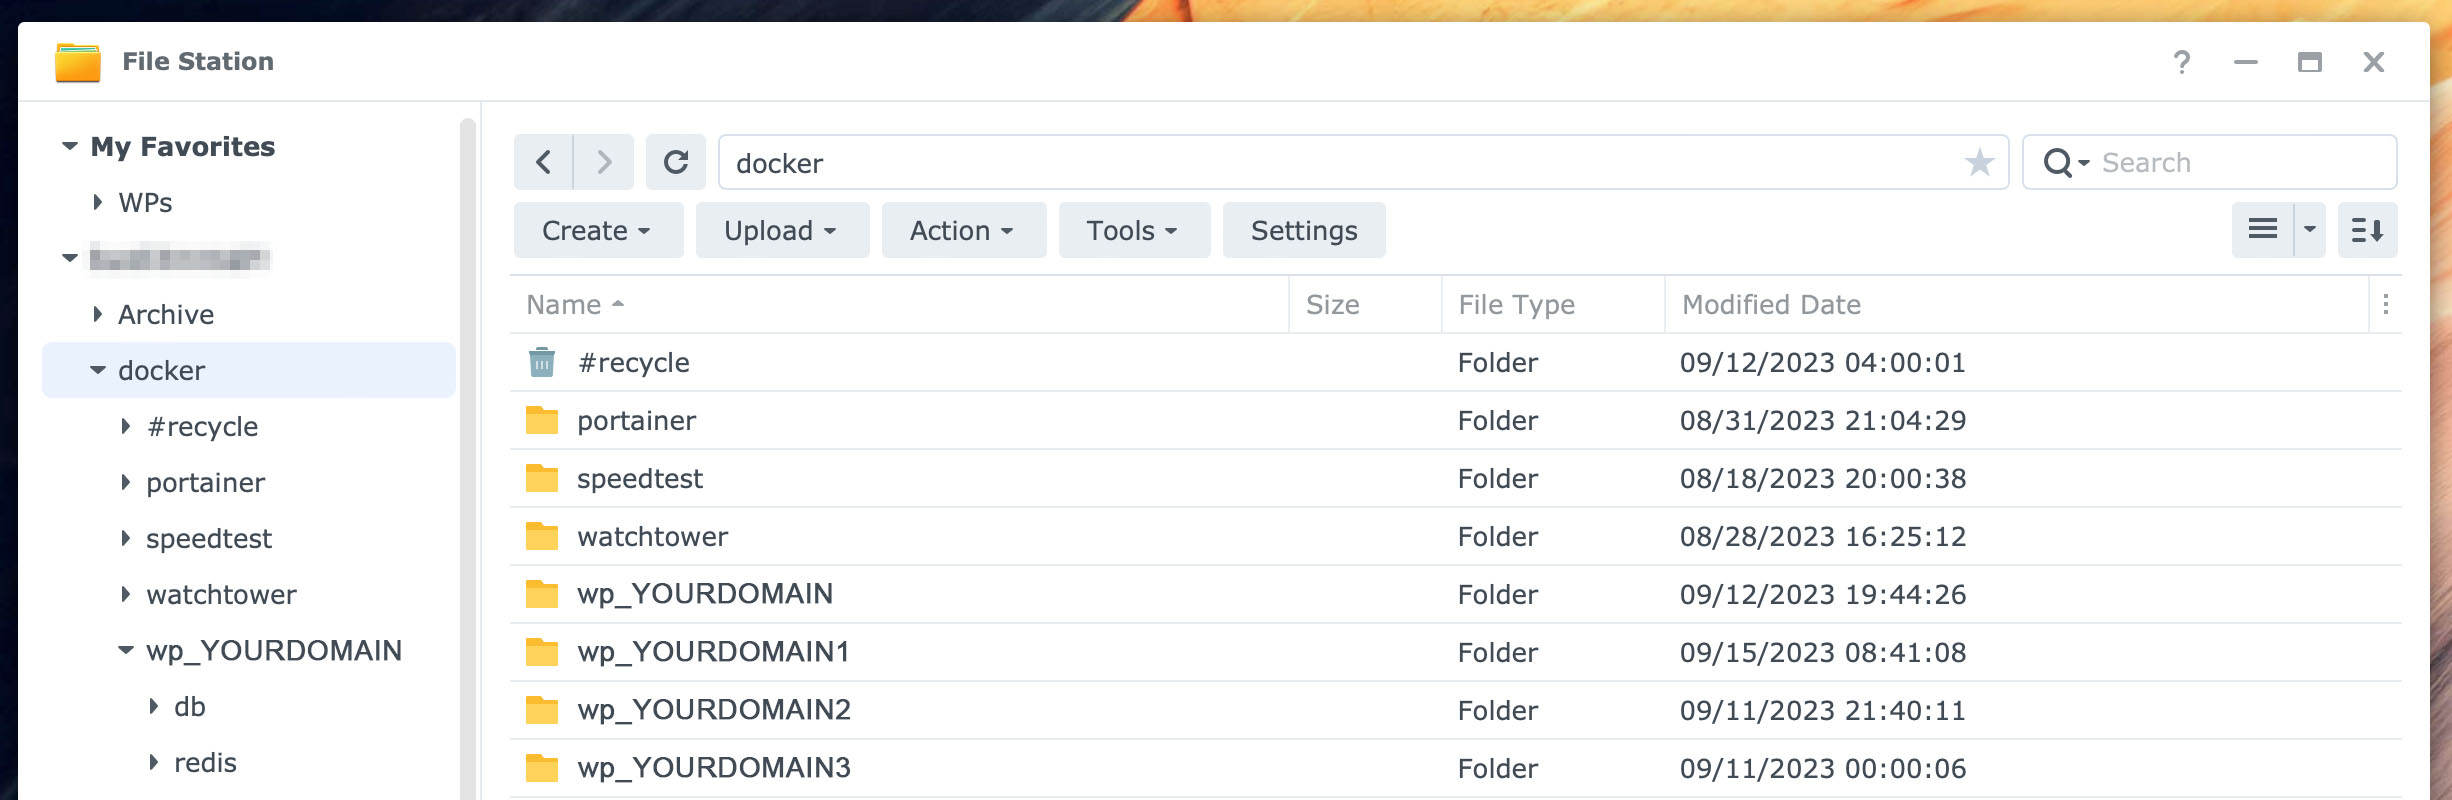
Once that’s set up, run the script manually once, or simply reboot to have the script run and ‘magically’ make your installed M2 drives seen as approved for volume creation by the NAS. You can then create a volume on your NVMe drive, and create a shared folder there. Once that’s done, create a directory called “docker” – all lower-case – in the newly created volume. Inside that directory, create directories for each website you want to self-host. For example, create a directory inside docker called wp_YOURDOMAIN1, another called wp_YOURDOMAIN2, and so on. Within each of those directories, create two folders – one called db (all lower case) and another called redis (again, all lower case). When you’re done, the directory structure should look like this:
Once this is done, proceed with step two, setting a static IP address for your Synology NAS. I will be adding these guides daily for the next couple of weeks, until the whole thing is complete. I’ve already written most of it, but formatting and taking/editing/adding screenshots takes time. Keep checking back for more!