This step is something you’ve probably already done, but if not, it’s absolutely essential. Basically, you need to assign a static IP address for your Synology NAS. The process will vary with each router, but you should be able to assign a static IP address (192.168.1.100, or whatever) to your Synology NAS, using its LAN port MAC address for identification.
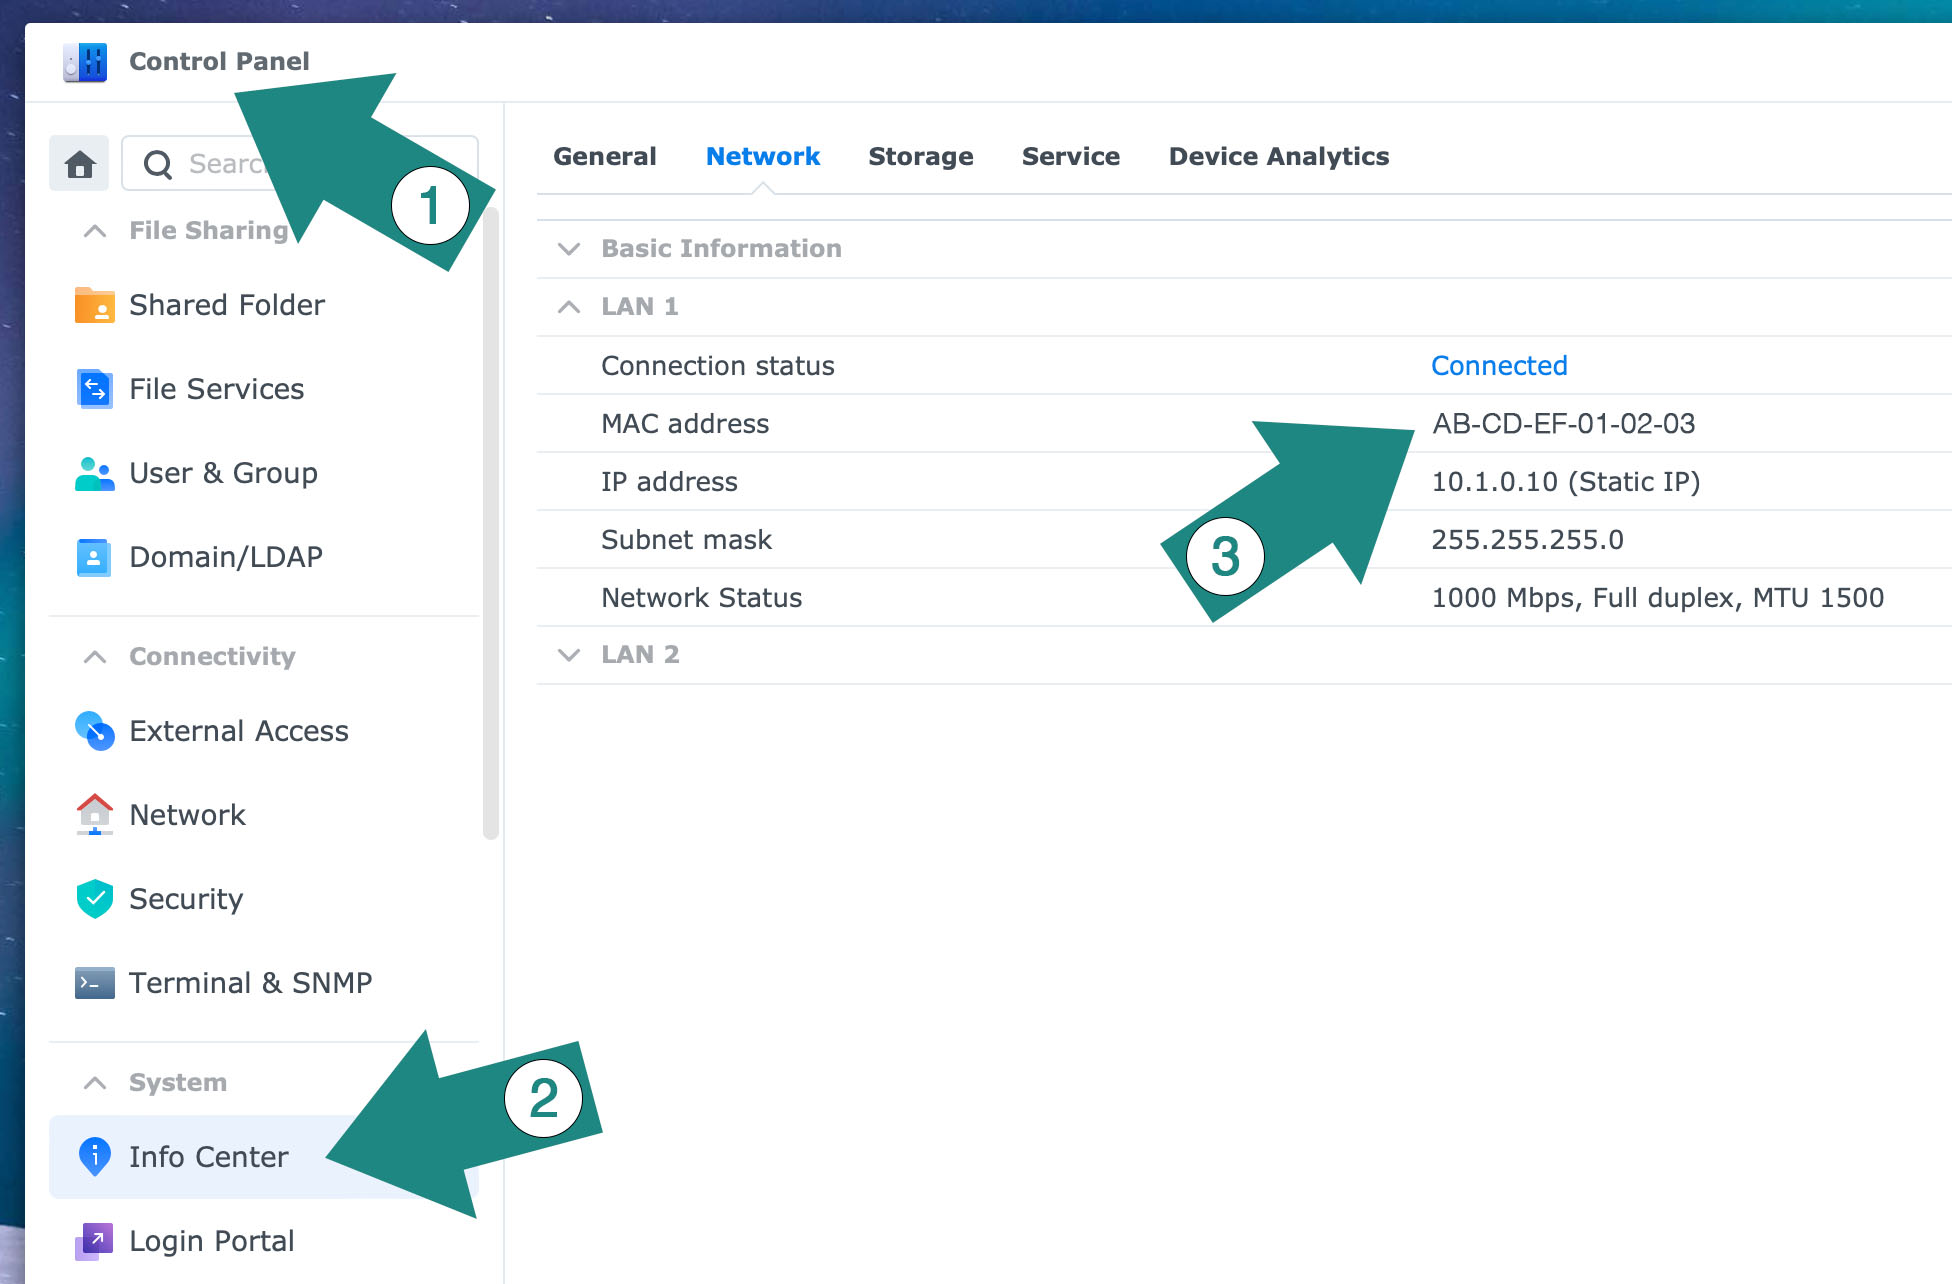
In DSM, open the Control Panel, then click on Info Center. Select Network at the top of the window, and then get the MAC address for whichever LAN port your Synology is using. Input that MAC address in your router’s admin/settings panel, assigning a static address rather than a random, DHCP-assigned address. I used 10.1.0.10 for my NAS, but most people use the default 192.168.1.xxx range. Whatever you pick, it doesn’t really matter, as long as it makes sense to you and (most importantly!) it’s static (so it won’t change if you ever reboot either the router or the NAS).
Once that’s done, proceed to the next step, Port Forwarding.
Once your NAS has a static IP address, you’ll need to forward incoming TCP/UDP traffic on ports 80 and 443 to the NAS. Again, in your router’s admin/settings panel, enable TCP/UDP port forwarding for ports 80 and 443, and make sure they’re forwarding to the static address you’ve chosen for your NAS. Exactly how to do this will vary depending on your specific router, but it’s usually pretty straightforward. If you’re struggling with it, a quick Google search for ‘port forward + your specific router model’ should yield good results.
Once port forwarding is set up, you can proceed to step three, DNS settings for your domain. I will be adding these guides daily for the next couple of weeks, until the whole thing is complete. I’ve already written most of it, but formatting and taking/editing/adding screenshots takes time. Check back tomorrow for more!